
After seeing my MAME cabinet, my friend The Stranger decided he wanted one as well. Several hundred dollars and months later, here is his the story of his cabinet.
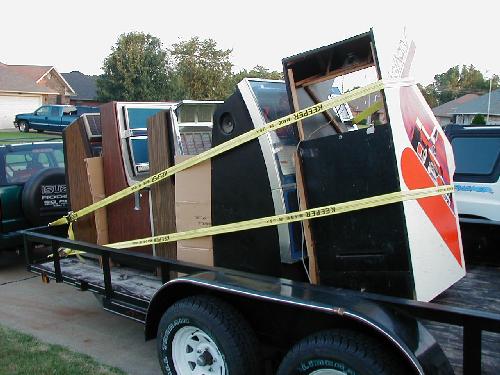
The Stranger’s MAME cabinet began life as a 1976 Atari LeMans cabinet. As far as MAME cabinets go, this is one of the worst you could choose. For starters, it has a steering wheel and gas pedal on the front. It also has a sloped control panel area, for the steering wheel. This particular cabinet had mouse crap and bird’s nests all through it. It was also free.
The first thing we did was completely gut the cabinet. This meant removing the bezel, the marquee, the speaker … basically anything we could unscrew and remove, we did.
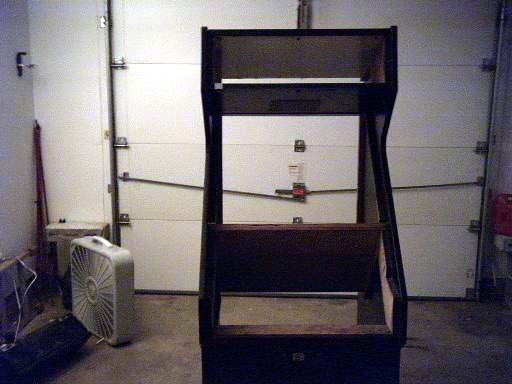
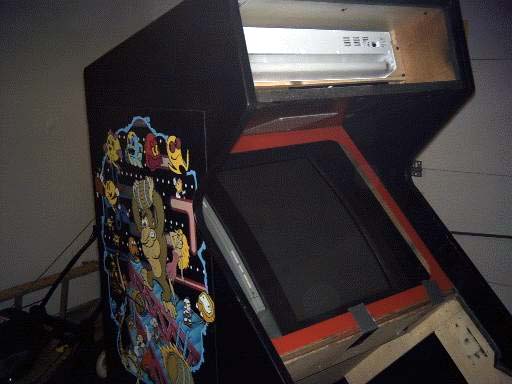
Here’s what we ended up with — an empty cabinet. We peeled the artwork off of one side and eventually gave up. Since the goal of this project was to finish it in a weekend, we decided to spray paint the cabinet black. By the way, the cabinet took about three months to finish, due to my busy schedule.
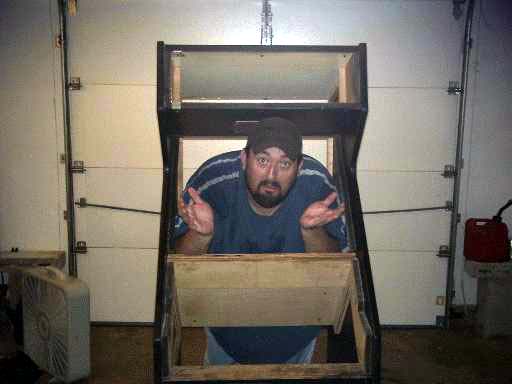
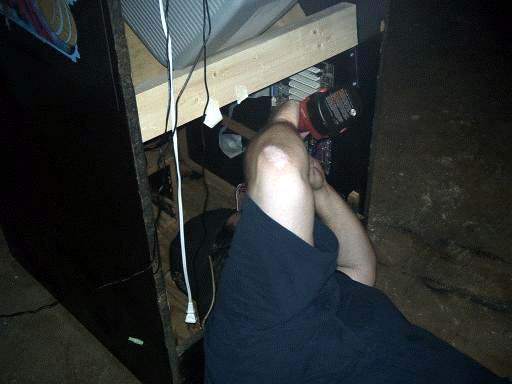
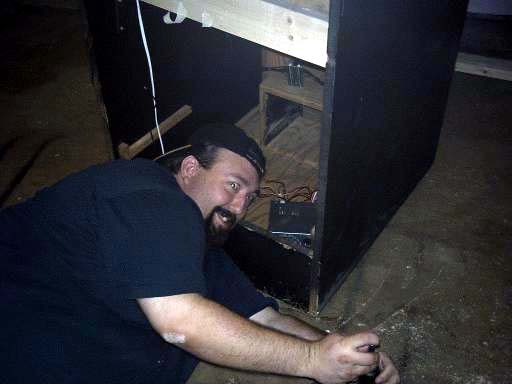
Here’s me, stuck in the cabinet. Aren’t I funny.
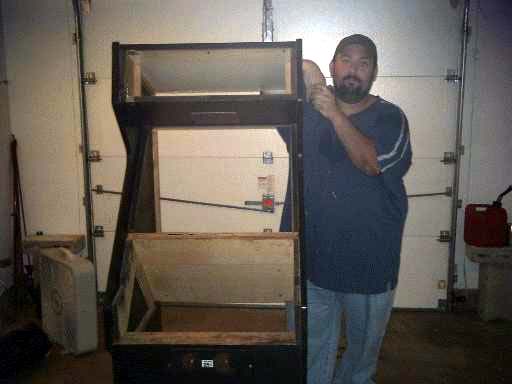
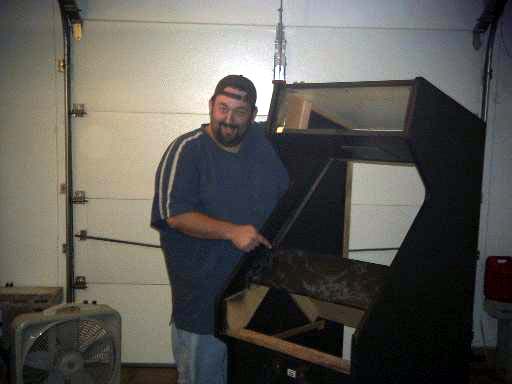
And more of me, posing by the cabinet. You can start to see why it took three months.
OK DEAR GOD WE GET IT. Actually, the reason I posted this picture is so you could see one of the problems we would later face. Not only is there no conventional control panel, there’s really not even a good place to build one.
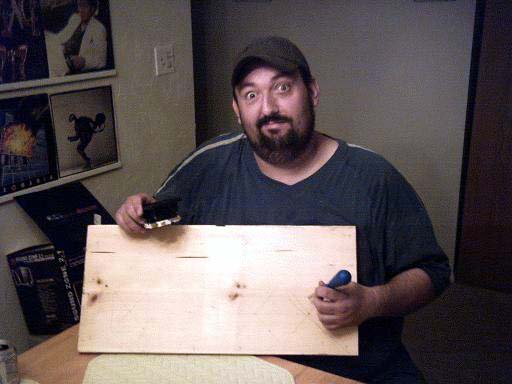
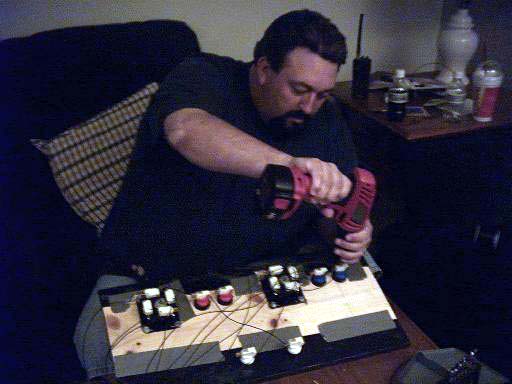
The inside of the cabinet was exactly two feet wide, so starting with a 2’x1′ piece of wood and a goofy grin, we started drawing. Then, we started drilling.
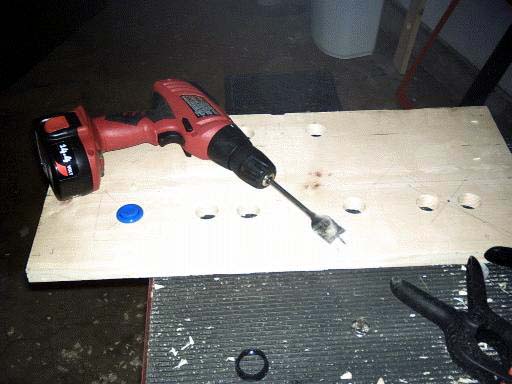
If you don’t already know, button holes are 1 1/8″ holes. This drill bit was less than 5 bucks at Lowes, and made the entire process really easy. Basically we just pretended we were playing video games, and then kind of guessed where we wanted the buttons. A couple of pencil marks and a few measurements later, we were drilling away.

When we got done with the control panel, we went to Wal-Mart (at around 1am) and picked up a roll of marble-print shelf paper. We wrapped the control panel in it, but it didn’t stick so great, so on the underside we duct taped it into place.
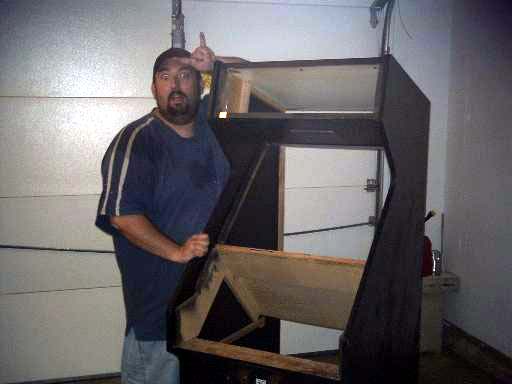
Since the original control panel was sloped, we had to make a piece of wood to cover that too. We just cut another piece of wood, also wrapped it in the same contact paper, and stuck it into place. Here I am, pointing to it. Whee!
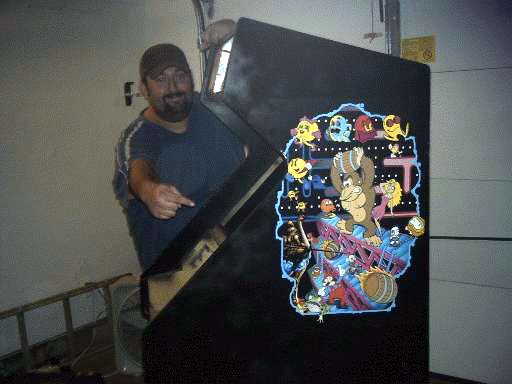
No cabinet would be complete without side art and a bezel. Here is the side art that the Stranger found via eBay. Expensive, but completely worth it. It immediately changed the look of the cabinet. Here’s me pointing at it.
Here’s the underside of the control panel. We used an iPac to wire everything up (SO easy … God I would not build one any other way). Every button has one wire running to the iPac, and one common ground wire. Wiring the whole thing up would have taken less than an hour but of course we learned everything the hard way on this one. I bought the wrong kind of wire, so one night we ran up to Radio Shack and got the right kind.
Half of building a MAME cabinet is the MAME half — that is, getting your computer configured and running just right. Trust me on this one folks, it’s a HECK of a lot easier to get everything working while it still looks like a computer instead of working on it when you’ve got it already installed into a cabinet.
Since we were building a cabinet mainly to play old school games, we had to run through everything and make sure MAME was rotating the games to the left. I used LemonMAME front end, which is very easy to configure for a vertical monitor as well.
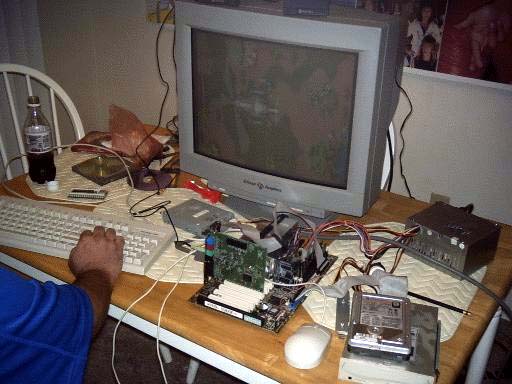
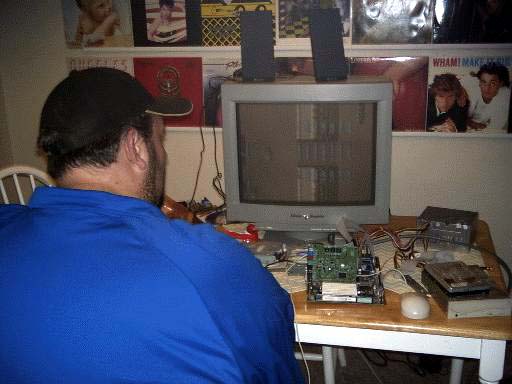
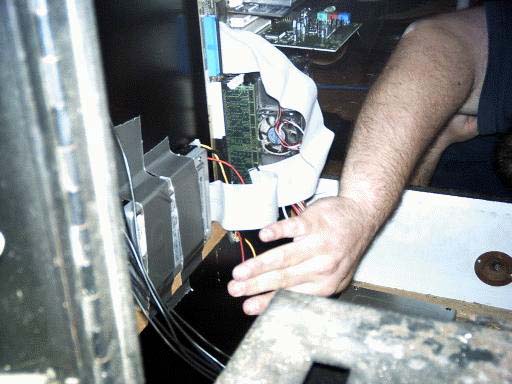
Here’s another shot of the MAME guts. There’s the monitor, the motherboard (which unfortunately did not have an onboard sound card), the keyboard/mouse, hard drive, CD-Rom, and power supply.

Here’s us installing the monitor. We maintained the original slope of the original monitor. We bought a few metal L brackets, and I cut some 2×4’s 2′ long. Then, The Stranger held the monitor in place while I frantically screwed in the 2×4’s to support the weight. In the end I think we used 4 2×4’s. 2 probably would have held it, but we wanted to be super sure that this thing wouldn’t move.
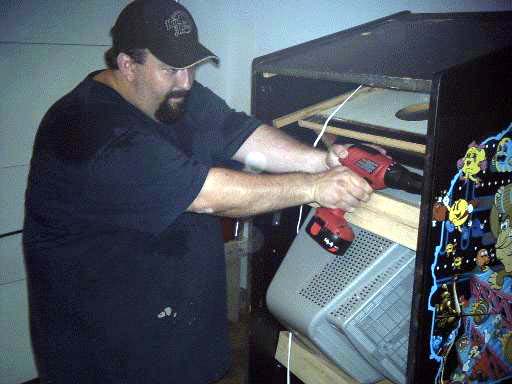
Not only does he drill, he looks good doing it. What can I say, folks. :) Once we had the monitor secured, we measured the distance from the sides of the cabinet, centered it, cut little blocks of wood to hold it in the middle and screwed those into place as well. Then we shook the cabinet violently and nothing moved. Then, we danced.
The original marquee light was shot so we went to Wal-Mart and bought an 18″ desk light. Then I cut a piece of wood to fit and we screwed it into place. Simple. To make the bezel we went to Wal-Mart (again) and bought some black poster board. We laid the original plexiglass sheet in place, and then market on the posterboard where the monitor screen would be. Then we went into the living room and cut out the square with an exacto-knife. This MAME Cabinet is has more Wal-Mart parts and duct tape than any other one on the planet.
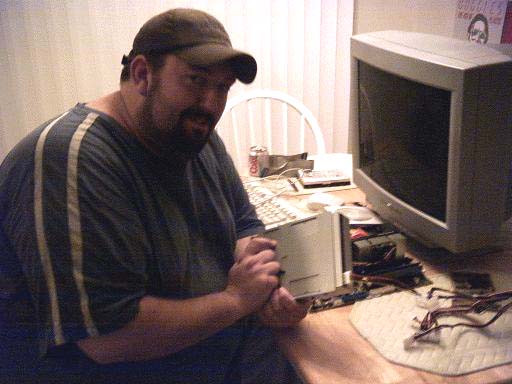
I always like MAME cabinets to look like real arcade cabinets on the inside, so were we are mounting the motherboard to the side of the cabinet.
The hard drive, CD-Rom drive, and iPac board are all duct taped into place. Mu-ha-ha-ha …
I wasn’t kidding. BTW, we cut the wires that went to the motherboard for the CPU’s power button, and ran them to a spare arcade button which we hid on the top of the cabinet. Works great, and looks cool
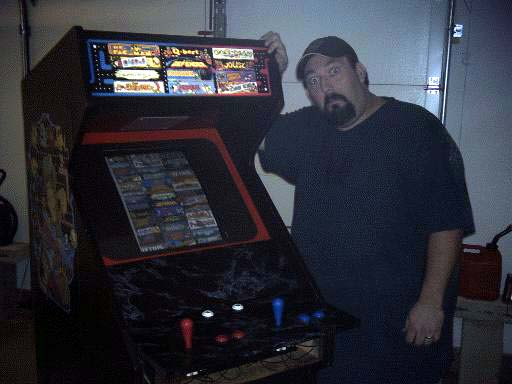
Final results — here’s the machine, up and running. The picture on the screen is a custom background I made out of The Stranger’s favorite arcade bezels (we used the artwork from MAME). The red/blue joysticks from Happs were a nice touch. The Stranger got the marquee from the same guy he got the side art from. Lit up from the back, it looks awesome, just like the real thing!
Here’s a link to the 600×800 Background, if you want to check it out or use it:
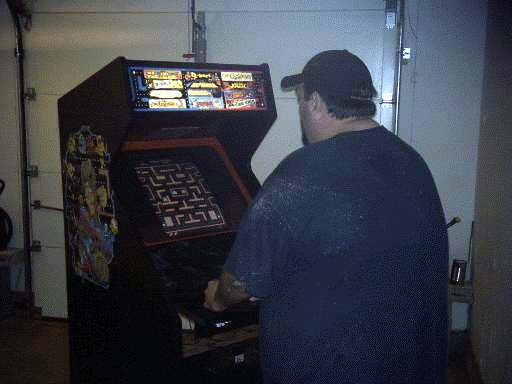
Here I am, covered in saw dust, playing a little Ms. Pac-Man.
—
The last thing we need to do is finish up closing up the control panel, but everything works so well at the moment we hate to mess with it.
Discover more from RobOHara.com
Subscribe to get the latest posts sent to your email.
very cool. Just browsing through other projects to see what others have done. Getting ready to do one of my own. Mind telling me where you got the side art & marquee ? Thanks man. :D
I gotta hire you to make me a MAME cabinet! Awesome job! You got skills!
…Here is the side art that the Stranger found via -> eBay.
Read :P
Nice work dude!
Nice work with a LeMans cabinet. I rebuilt a lemans cabinet here recently and I stumbled across this site while doing a search. Here is a link to my build.
http://forum.arcadecontrols.com/index.php?topic=54588.0
I kept mine a drive though. Good work.
Nice M.A.M.E. cabinet. I did something similar. I used an old Astro Invaders cabinet and gutted it. Other than what’s on the screen and the controls, it looks like the original. Have a look …. http://arcade.offroaders.com