
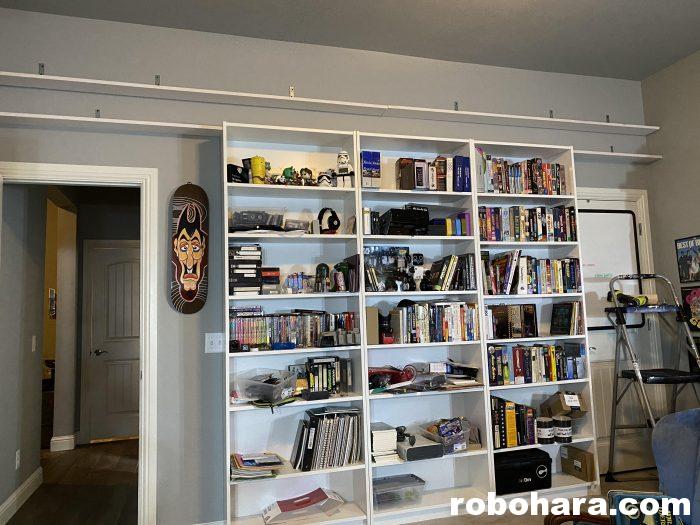
Since moving into my new home office, Susan has been nudging me to unpack my lunchbox collection and put them back out on display. I enjoy looking at my old lunchboxes, and we agree that having them stowed out in the garage inside moving boxes (where they’ve been for two years now) isn’t bringing anyone any joy. A few weekends ago, I decided to spend a day building new shelves for my old lunchboxes.
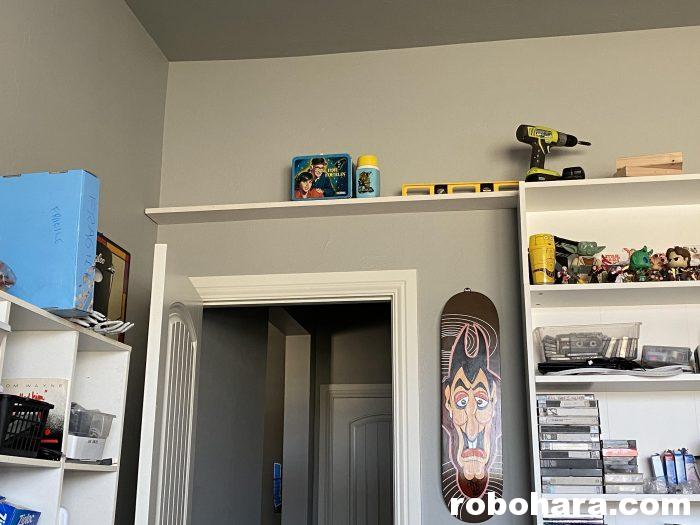
After doing a bit of measuring I determined I could fit three shelves between the top of my bookshelves and the ceiling. The wall is 15′ long, and using a bit of loose math I estimated three shelves would give me enough space (or close enough to it) for all my lunchboxes.
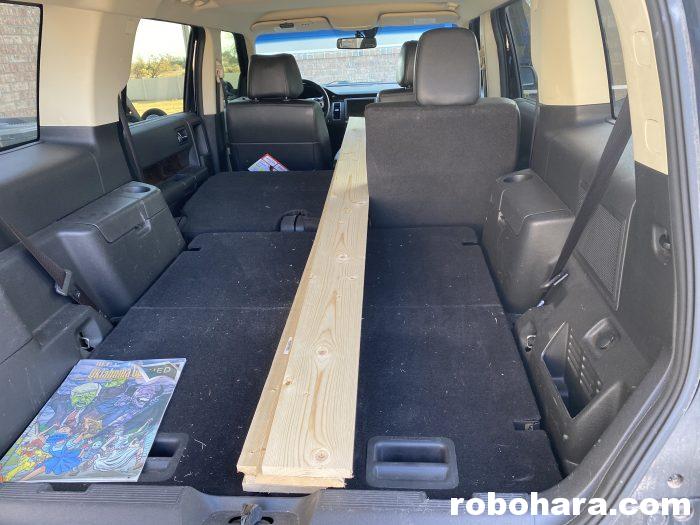
I went to Home Depot with the intention of buying pre-laminated white shelves to use, but no matter how I sliced or modified my plans, they didn’t have enough pieces of wood of the same depth for me to make the shelves. The closest I came was using a bunch of 4′ long shelves, which would have come to more than $200 after tax. I really wasn’t wanting to paint lumber for this project, but I found 8′ long pieces of wood that were 6″ deep (perfect for this project) at under $7 a board. I ended up buying six of those and paying less than $50, and I already had a gallon of white paint at home.
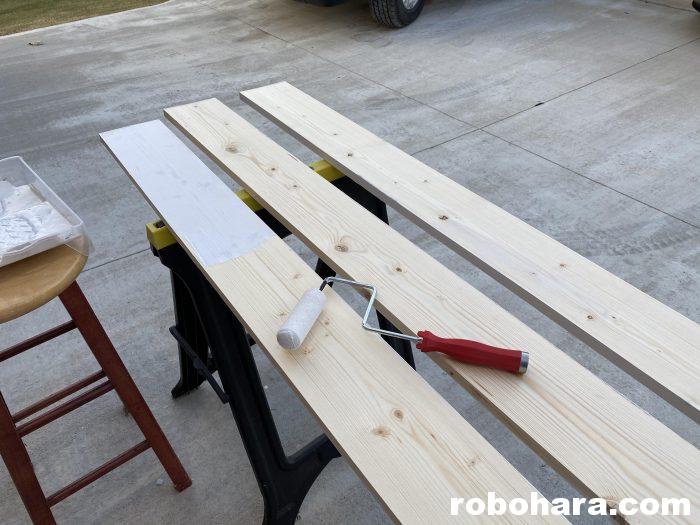
Painting the shelves instantly turned a one day project into two, as each board needed two coats of paint, and I had to wait for them to dry between coats. I painted the boards three at a time, painting one side and one edge of each board and waiting for them to dry before flipping them over and doing the other side. I probably could have figured out a more efficient way to do all that painting but I wasn’t in any particular hurry. In between each coat I came inside and piddled.
The next morning I brought in two of the pieces of wood. Since each piece was 8′ long and the wall was a little over 15′ long, I put one piece in place, put the other one in place, and marked where the two overlapped with a pencil. Then I took the second one back out to the shop, cut it on the line, and used it as a template for two of the other boards. The final result was three 8′ boards, and three that were just over 7′.
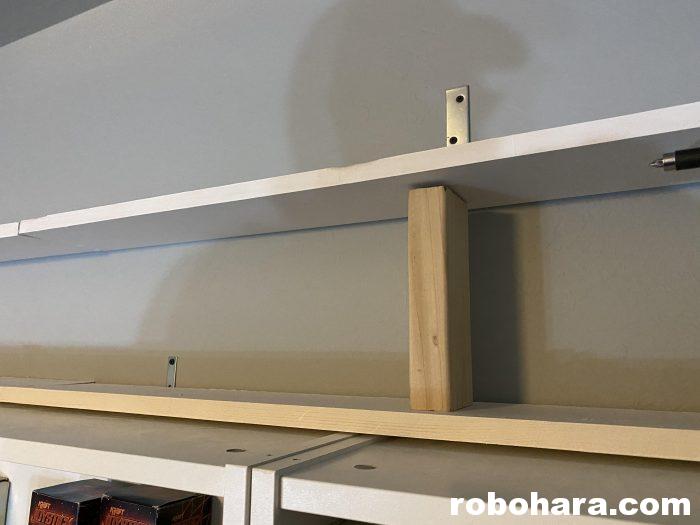
I used some 4″ metal brackets to attach the shelves to the wall. I attached each bracket to a wall stud, and then to the top of the shelf instead of the bottom. I don’t typically recommend doing this — shelves can hold a lot more weight if the metal bracket goes underneath the wood — but I did not want the brackets to show from underneath, and I knew that the lunchboxes did not weigh very much.
Vintage lunchboxes are 7.75″ tall, so I cut a couple of 2×4 spacers that were 8″ tall and used them to build the next level of shelves. With each shelf balanced on top of the 2×4 spacers, I used a stud finder to locate the studs in the wall, attached the brackets to the studs, and screwed them down into the shelves. Before finalizing anything, I verified that each shelf was level using a (spoiler) level.
Once the second row of shelves was complete, I repeated the process to get the top shelf attached. While I did that, Susan brought three large boxes full of lunchboxes in from the garage.
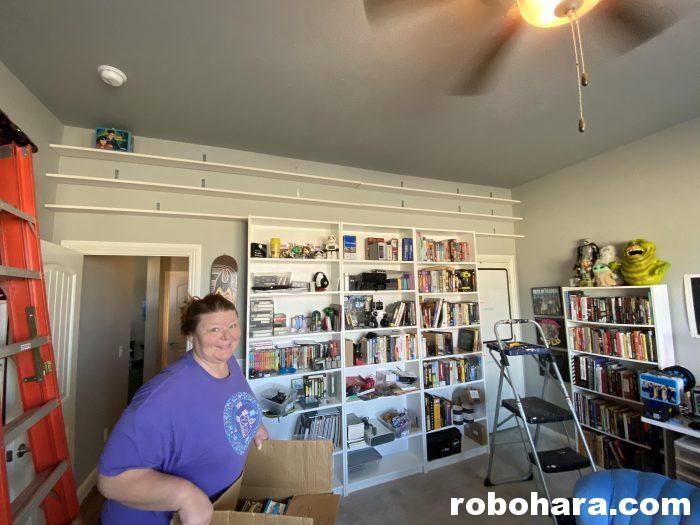
The only thing left to do was the fill the shelves with lunchboxes. I had to use a ladder to put the lunchboxes on the shelves and could only carry a few lunchboxes at a time, which meant I made about twenty trips up and down the ladder. This was by far the worst part of the project. By the time I was done, my knees were killing me!
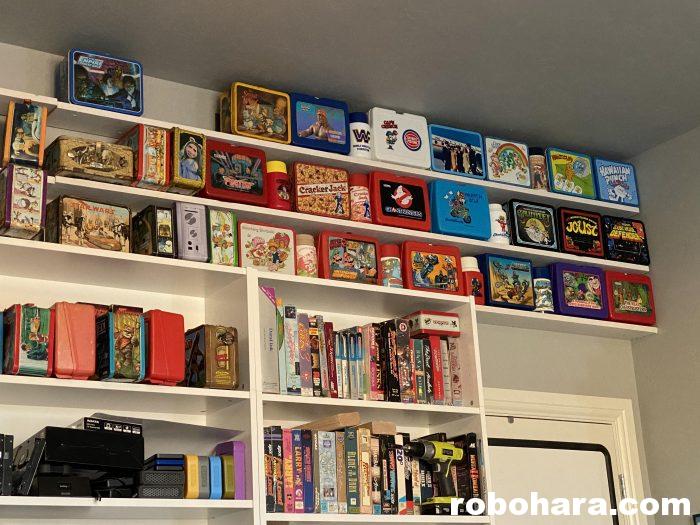
As I put the last lunchbox on the top shelf, I discovered I had four lunchboxes left over. Two of them were duplicates, and the other two were newer ones that I might get rid of. Somehow, the shelves were literally the perfect size.
The lunchboxes are mounted in such a way that unless you’re inside my office, you can’t see them at all. I love it. Nobody outside my room would ever know they were there, and yet every time I look up from my computer I can see them all. I love those vintage lunchboxes, and get a lot of joy from looking at them. Susan was right, they weren’t doing anybody any good sitting in boxes out in the garage.
If you’re interested in hearing about the techniques I use to build shelves and some of the display shelves I’ve made over the past couple of decades, check out the latest episode of You Don’t Know Flack, where I talk about exactly that.
Link: You Don’t Know Flack 195: Shelves
Discover more from RobOHara.com
Subscribe to get the latest posts sent to your email.