
Today I am repairing a Commodore 64 keyboard. Not just any keyboard, but the one I grew up using back in the 1980s.
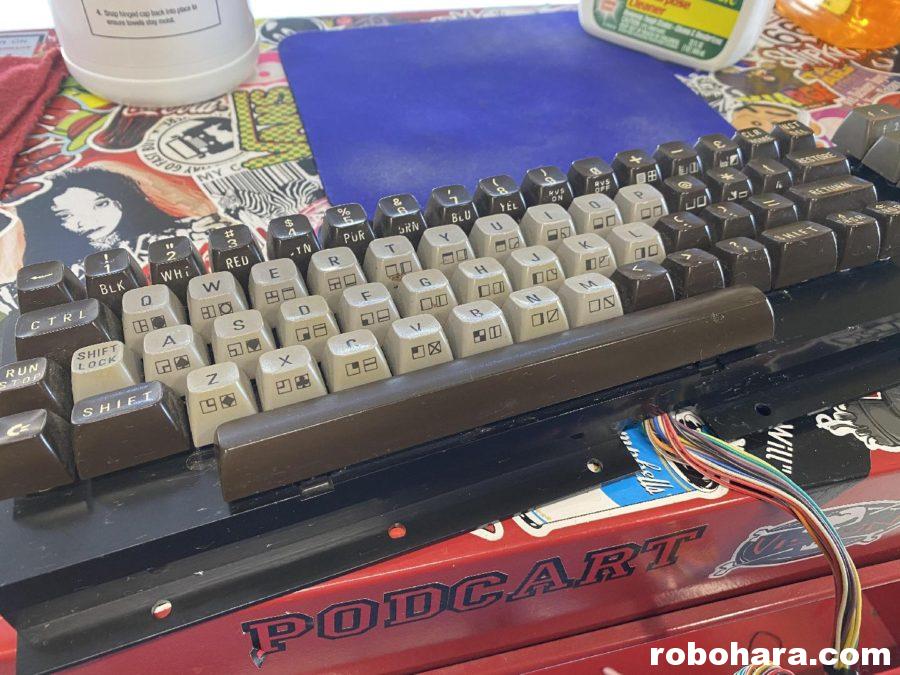
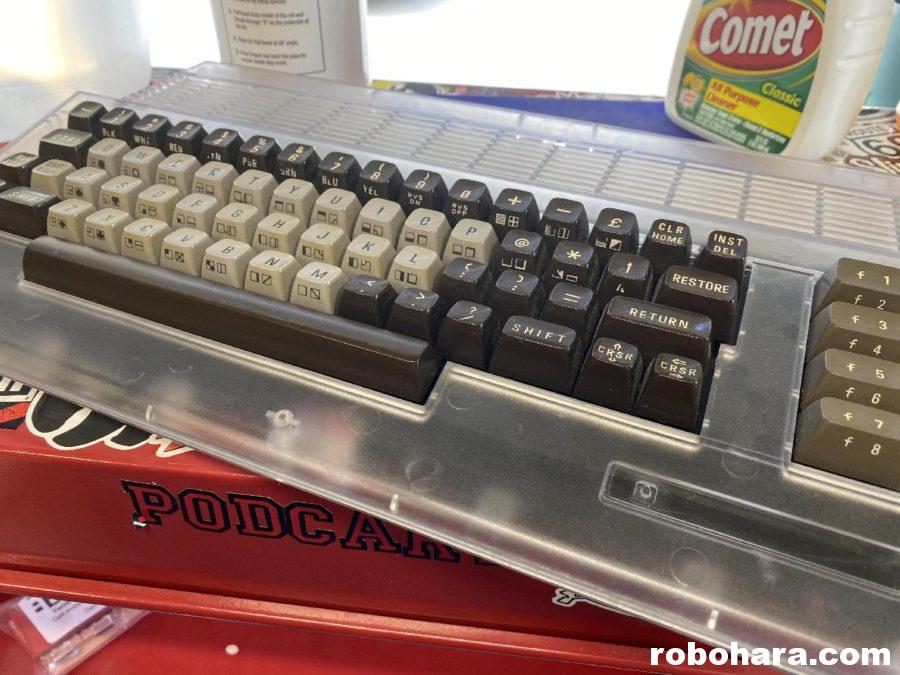
The original Commodore 64 came with brown keys. For a brief period of time, Commodore made a similar computer, the Commodore 16, which came in a black case with grey keys. A few years after the C16 was discontinued, Commodore’s stock of replacement keyboards flooded Radio Shack. Although the two keyboards were not electronically compatible, the keys themselves were. I bought one of those keyboards back in the late 1980s, plucked the gray keys off of it, and swapped them onto my C64. While I’m sure I wasn’t the only person to think of doing this, I’ve never seen another one exactly like it in person.
Unless you paid good money for one, it’s just as easy to swap out a USB keyboard as it is to repair it. That’s not the case with vintage computers, a market that has seen skyrocketing prices over the past several years. A broken Commodore 64 is liable to set you back $50 at this point. Elbow grease, some Google-Fu, and a bit of luck all contribute to keeping these old machines functioning.
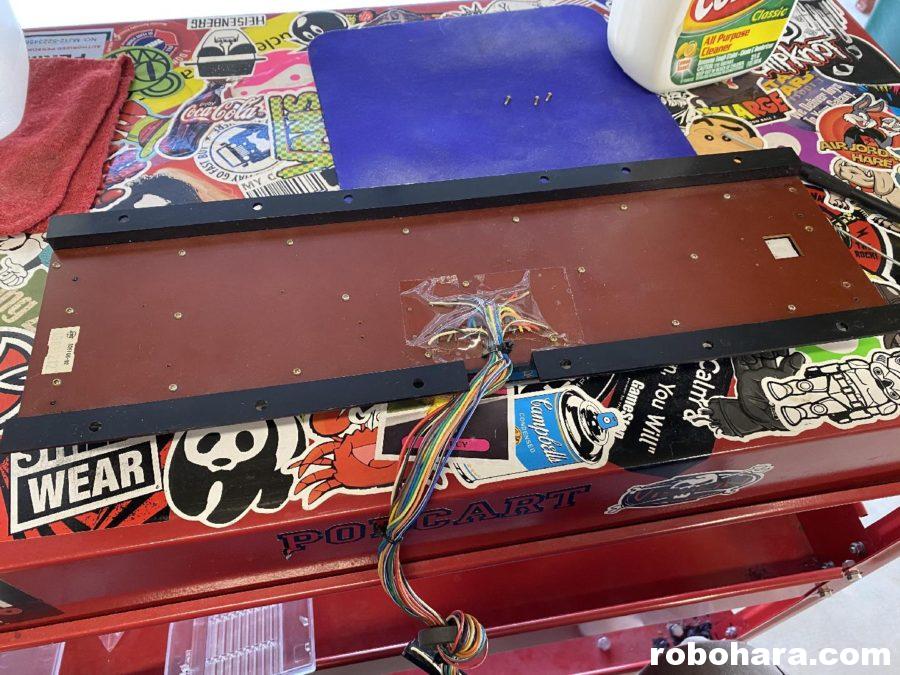
With the case separated, the machine spills its guts like a dishonored samurai. Underneath this brown board are a series of contacts. Each key consists of a cap, a post, and a spring. When you depress a key, the bottom of the post makes contact with the circuit board. It’s incredibly simple and incredibly complicated at the same time.
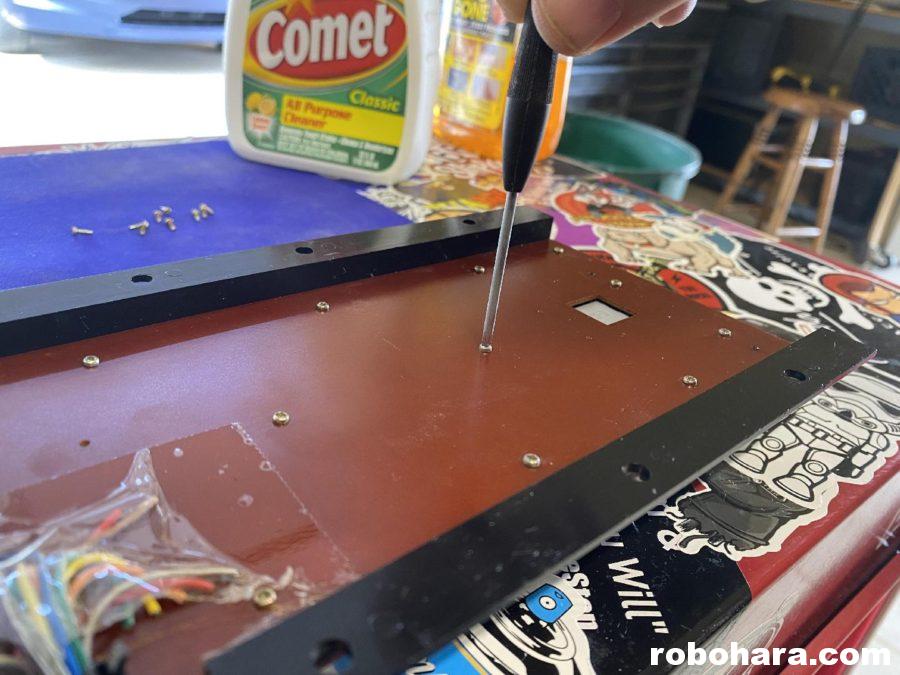
The circuit board is held in place by 23 tiny screws. If it were built today it might have six, or four, or none at all — just some tabs that would break when you tried to remove it. Someone, at some point in history, looked at this circuit board and decided 23 was the perfect amount. There is no shortcut to removing them. A few of them are located under a clear piece of tape. I peeled away the tape trapping those screws 30 years ago. Thanks, younger me.
The “Shift Lock” key (what we now call Caps Lock) was a mechanical key that had metal leads running to it that were originally soldered in place. There are two ways to remove the circuit board. One is to desolder the leads and carefully remove the wires so that they can be reattached. The other is to cut them off and say “to hell with caps lock!” which is apparently what I did when I was a kid. Oh well.
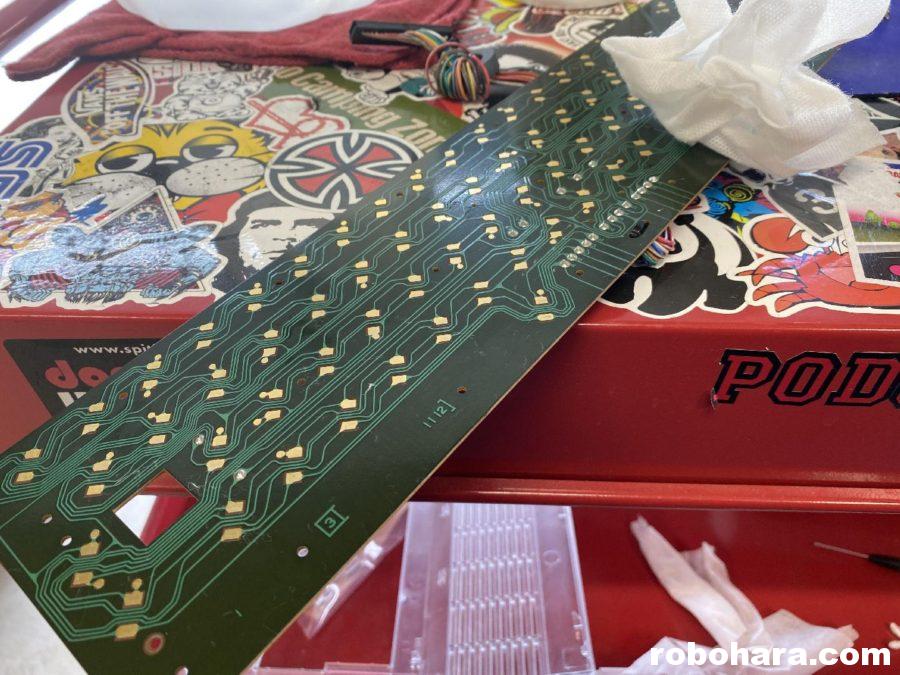
I used a bit of electronics cleaner to clean off the contacts. There are many arguments on the internet as to whether electronics can be safely cleaned with 50% and 70% isopropyl alcohol, or if 91% is required. The last time I cleaned the inside of the keyboard three decades ago, I used 100% spit.
With everything clean and dry, I reassemble the keyboard. As I work my way down the circuit board, I wonder if all 23 of these screws are necessary. Would it work with only 22? 21? 3? By the time I’m done daydreaming, they’ve all been reinstalled.
The old keyboard has been installed in a new case. The new case has three spots for screws, but it also snaps together so I didn’t use any.
Discover more from RobOHara.com
Subscribe to get the latest posts sent to your email.
100% spit….. nothing gets anything cleaner than good old fashioned spit! I swear by it! In fact, I know it is stronger than Comet…. don’t ask…. lol